 2003
2003


Deck saloon
by Johan Kjellander 2003, 2014
January - March
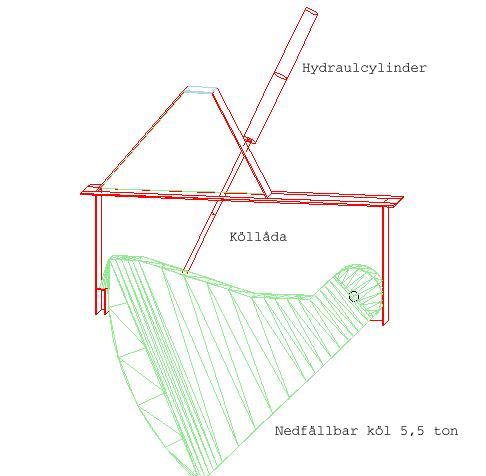
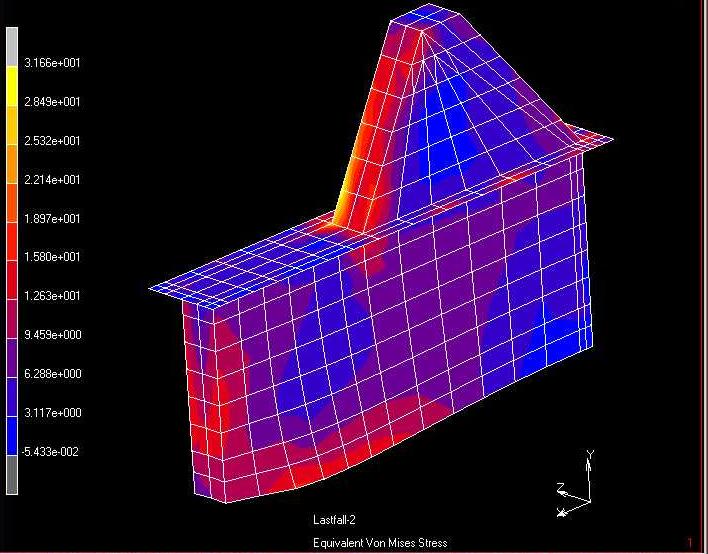
Designing the keeltrunk has continued throughout the winter. Not extremely quick, but still... I have changed and changed and calculated tensions and deformations with the FEM program and slowly I'm beginning to understand how the trunk and the keel interact structurally. A major question is how to find the material to a reasonable price. I need at least 12 square meters of 12 millimeter stainless (SIS 2343/316L) sheet metal with a weight of approx. 1300 kg's ! Ordinary price at Tibnor's would be 70 SEK/Kg ie. totally 100.000 SEK !!! ( 12.000 USD) A wellknown workshop could deliver the material cheaper and the manufacturer is of course the cheapest. I will let you know....
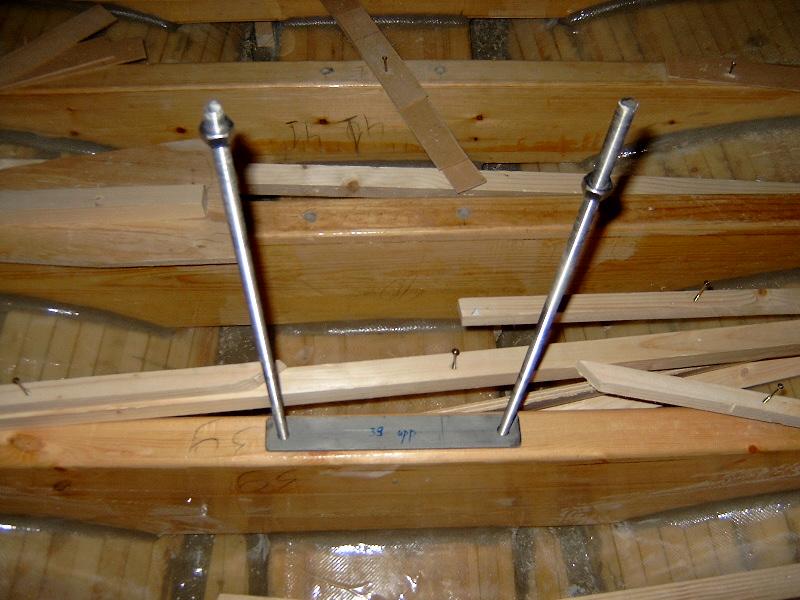
Keelbolts is another metal job. The keelbolts keep the keel and the floors togehter. 15 floors all need 2 keelbolts each of 12 mm diameter. I bought 1 meter long stainless bolts and cut them to the right length. I also bought 10 meters of 40X5 millimeters stainless profile and cut it to pieces long enough and drilled two holes in each pice. One piece on top of the floor and the other inunder.
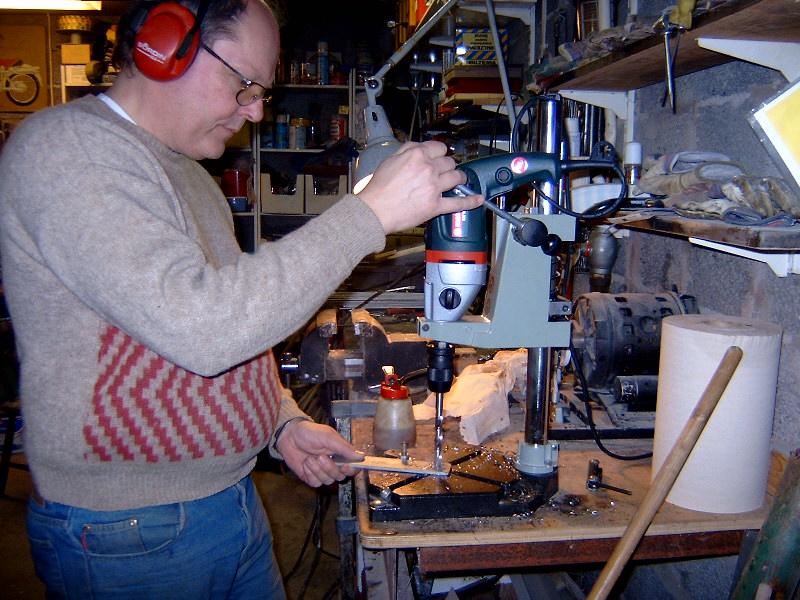
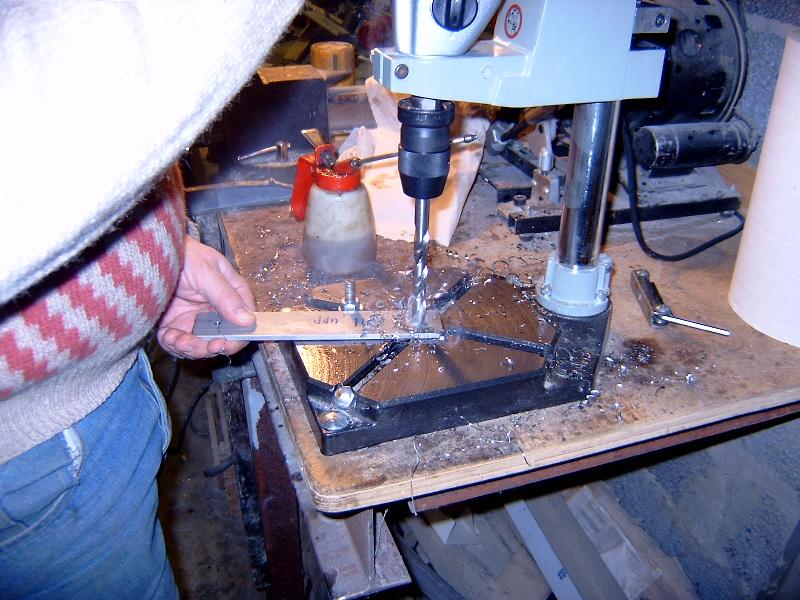
Drilling 60 holes of 12 millimeter diameter in 5 millimeter thick stainless steel is not trivial. For some time I have been thinking about bying a fixed drilling machine but I finally decided to go for a professional handheld machine and a tablemount. In order for this to work as good as a fixed machine you need a really strong motor and good speed control. I ended up with a Metabo SBE 1010 Plus. This machine has two mechanical gears, a motor more than 1000 watts strong and continous electronic speed control from 100 to 2800 rpm. Max drill size is 13 mm. To drill in stanless steel you also need the right type of drill. I have bought several different types. One is ordinary HSS quality. This one is cheapest, 40 SEK. I also bought a specialized drill from Vedevåg 110 SEK and a two others prized inbetween. There are also more expensive drills in hard metal but that I think is overkill. After drilling 60 holes with the cheap HSS drill without sharpening it my conclusion is that HSS quality is definitley good enough. Important though is to use the right speed, for a 12 millimeter drill that means something in the range of 300 rpm and don't forget to lubricate I use ordinary motor oil. This works but it smells bad and is probably not very healthy. Also, keep the pressure on the drill up so that it cuts really good. Dont use more that 10 seconds to drill a hole 5 millimeters deep. The drill dosen't like to be overheated and as long as it cuts good most of the heat leaves the hole with the cut away metal.
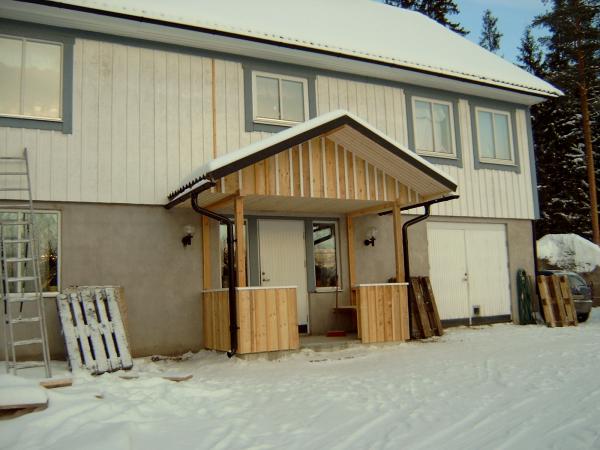
Every winter I also use to do some work on our house. This winter ended up with a veranda. Quite nice in my opinion !
April
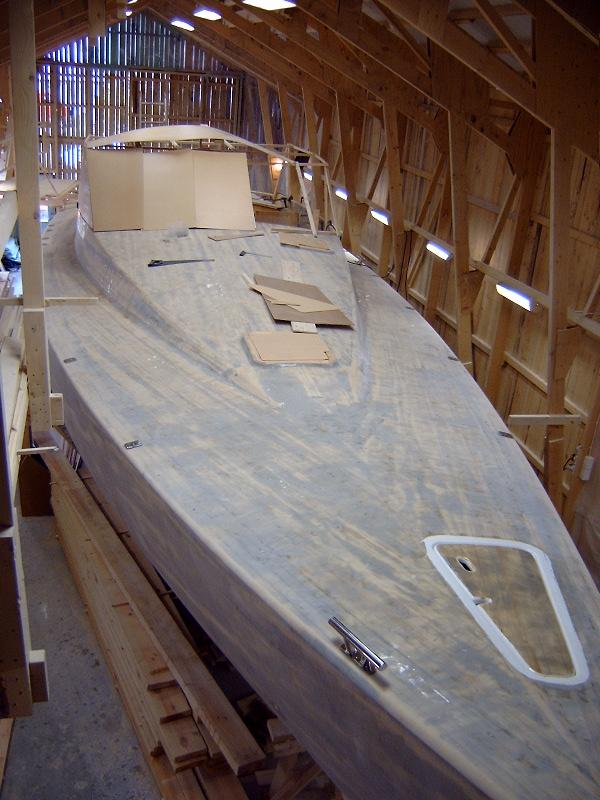
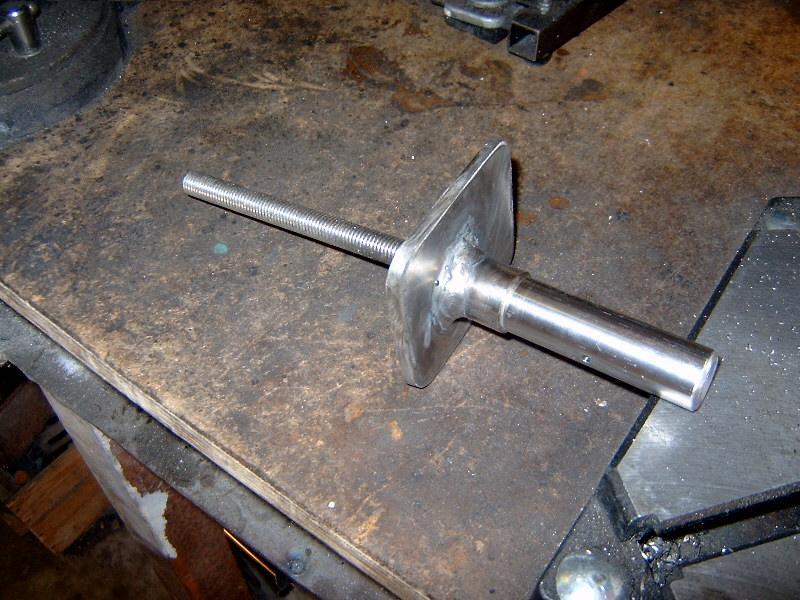
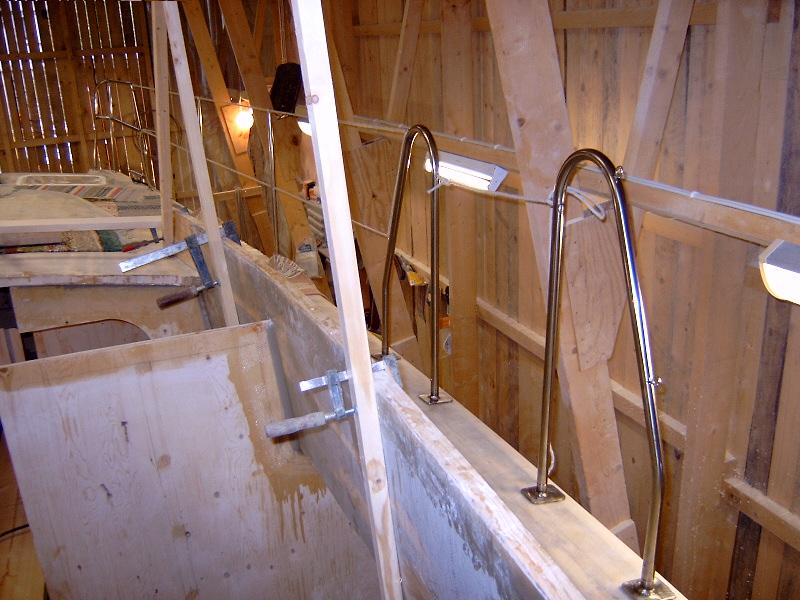
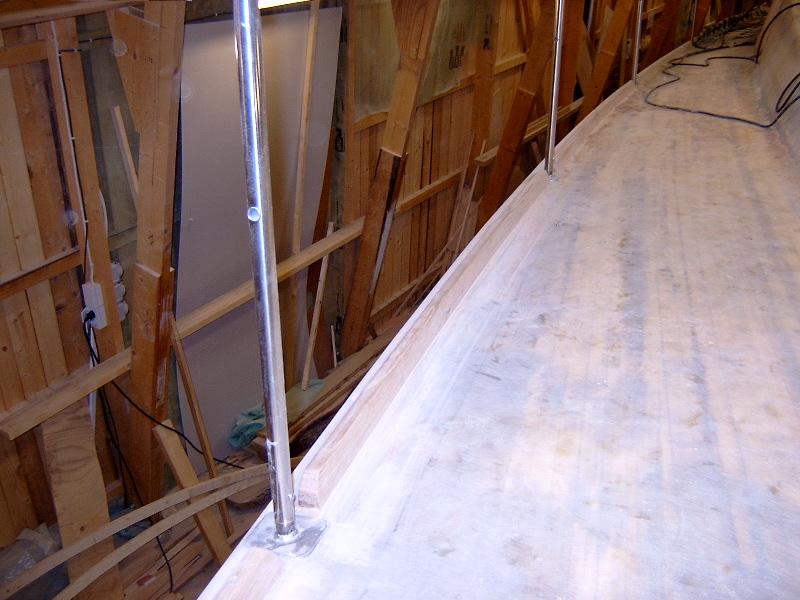
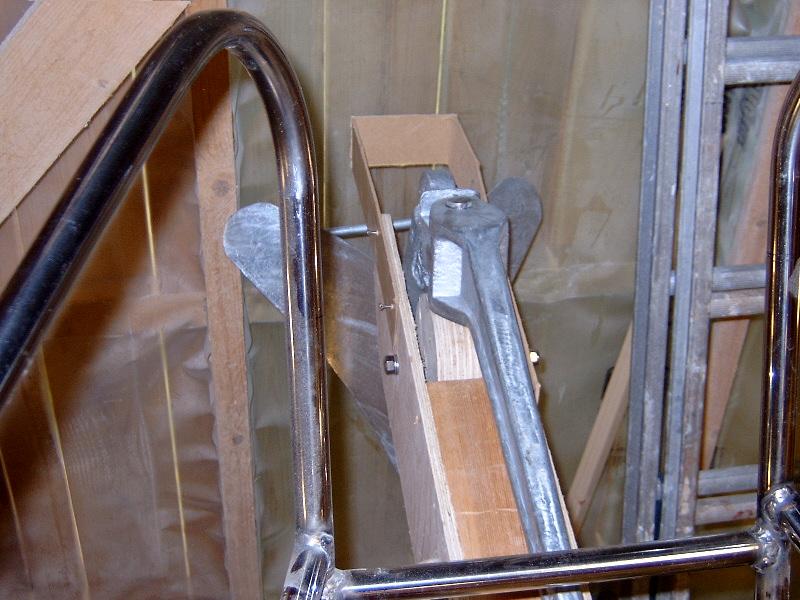
While waiting for the material to the keeltrunk I decided to spend some time on pulpit, pushpit and guardrails. Working on the deck of the boat without a "protective fence" feels dangerous since she is quite high and the floor below is concrete. I made each stanchion socket from a 12 mm stainless bolt welded to the middle of a 70 X 80 mm piece of sheet metal 6 mmm thick. The bolt goes down through the deck and through the sheerclamp with a heavy washer and nut below. You can see some of the half finished sockets on the picture above. Next months report will show you the finished result. The picture below shows a cardboard prototype of the deckhouse. I'm not sure I like it but it will have to end up something like that.
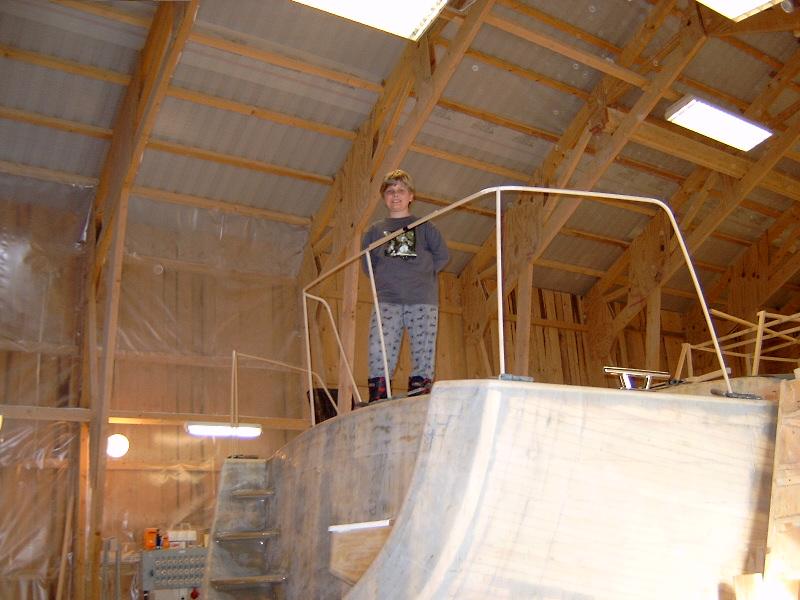
I also started the job on the pushpit. First step is to make a prototype out of cheap plastic tubes. Finally this month, I mounted 6 bollards, 3 on each side. You can see one of them on the picture above together with a proud Gustav who gave me a hand.
May - June
I promised you a picture of the finished sockets for the stanchions. Here is one of them ! The picture to the right shows how the stanchion slides on to the socket.
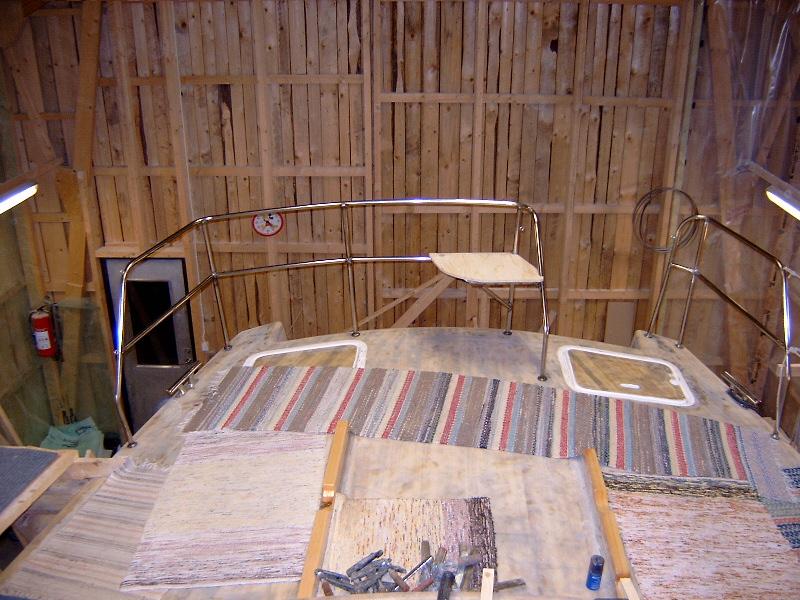
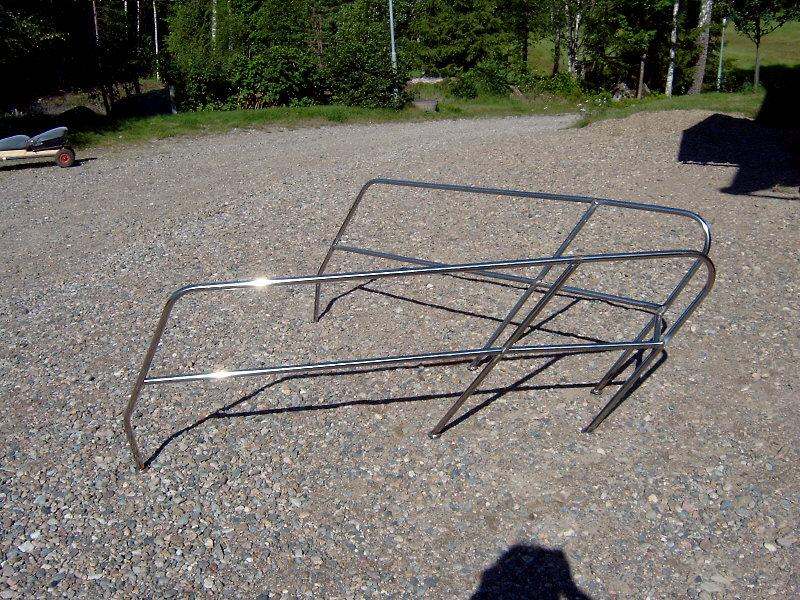
I also made a pushpit from 25 millimeter polished stainless tubing. A lot of cutting, welding and sanding. I'm not very pleased with the finish but functionally it's very good. On this picture you can see the two halfes of the pushpit with a seat integrated in the middle. On the port side is the exit down to the stern platform.
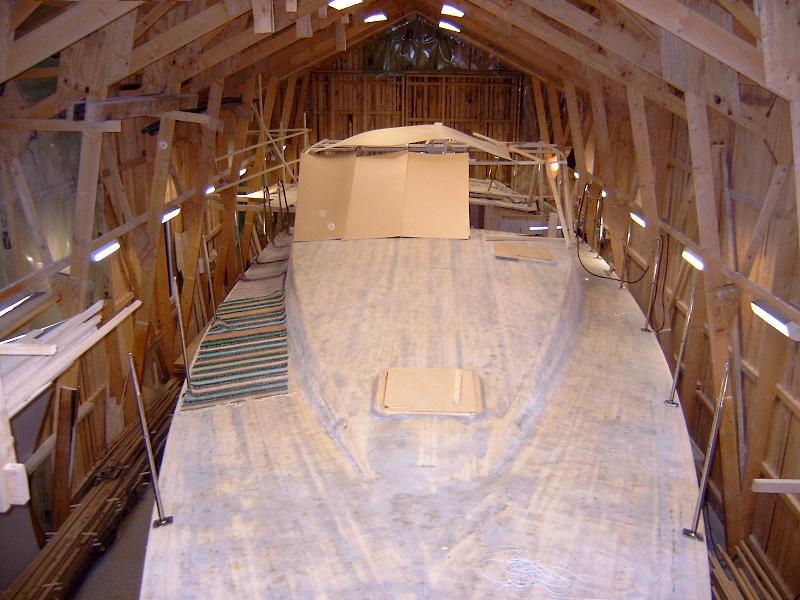
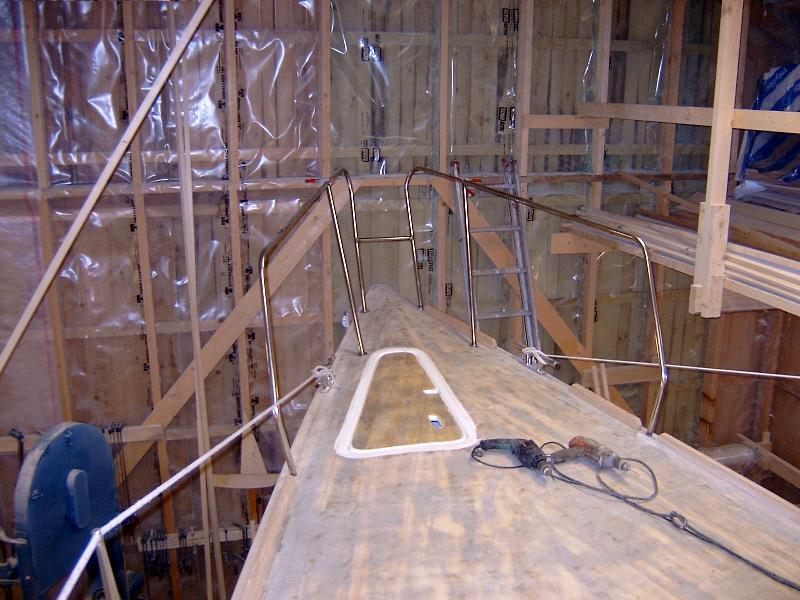
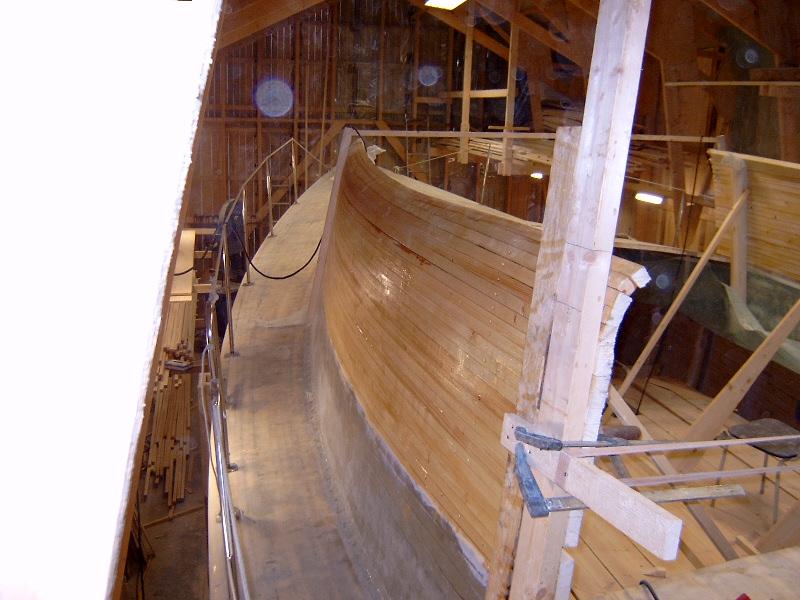
I bought the stanchions from Vetus via a local dealer. The size is extra high, 75 cm, which feels safe and comfortable. This is a view from the foreship. 6 stanchions on each side plus gates at the widest section of the hull for comfortable entry/exit when moored alongside.
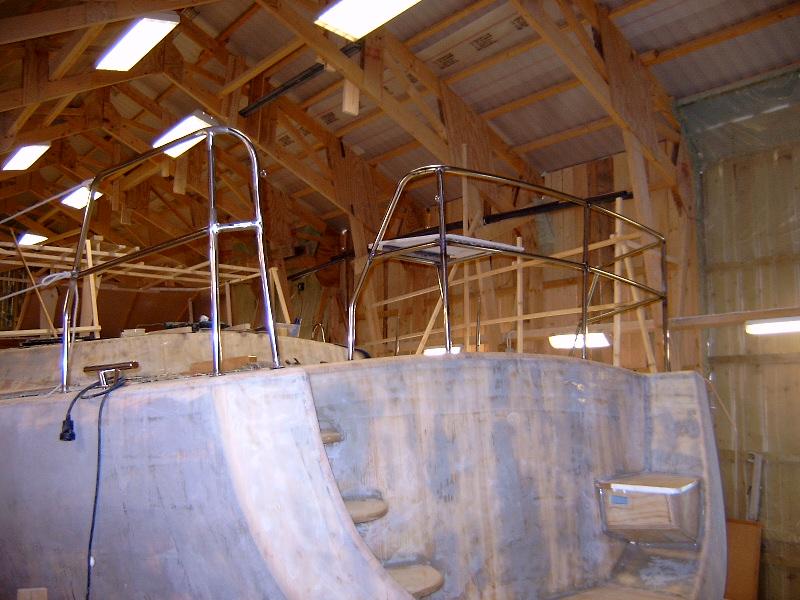
From the stern it looks like this.
This summers work will be to finish the deckhouse plus a lot of smaller jobs like pulpit, chainplates, rear cabin and so on. I estimate that when summer is over the boat will be half finished !!!
July
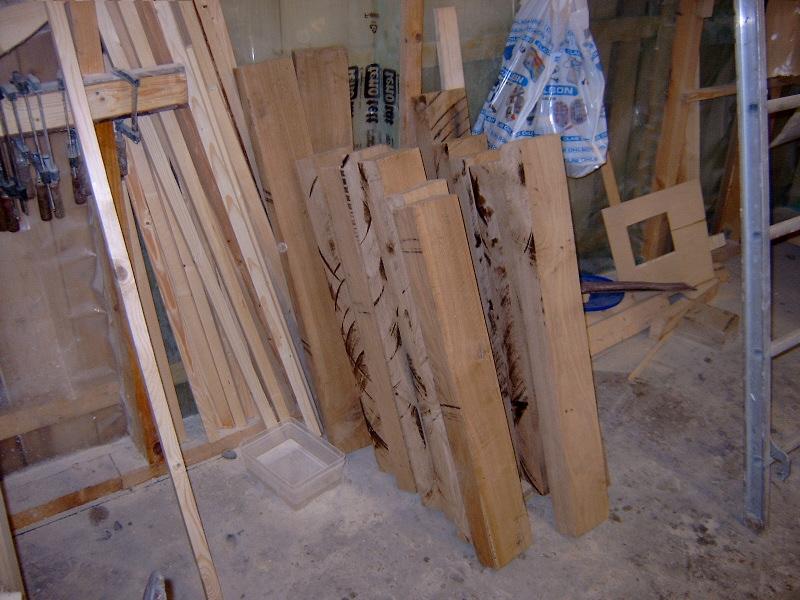
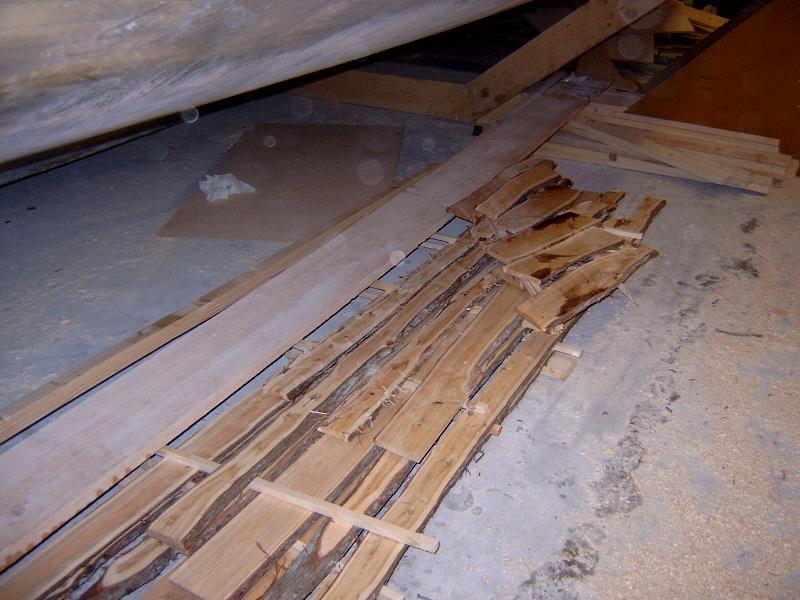
With the summer holidays the work has now accelerated. First of all I want to show you some pictures from the chainplate constructions. A friend of mine supplied me with an oak log two years ago. I then cut it to planks and put them away to dry. Chainplates will be stainless steel but fastened to oak members glued to the hull. First I cut the oak pieces. Three on each side of the boat. See above!
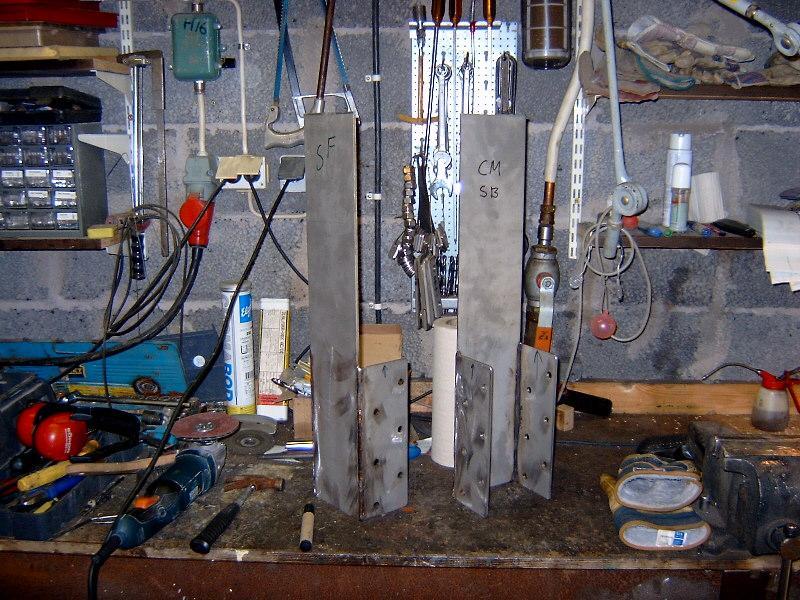
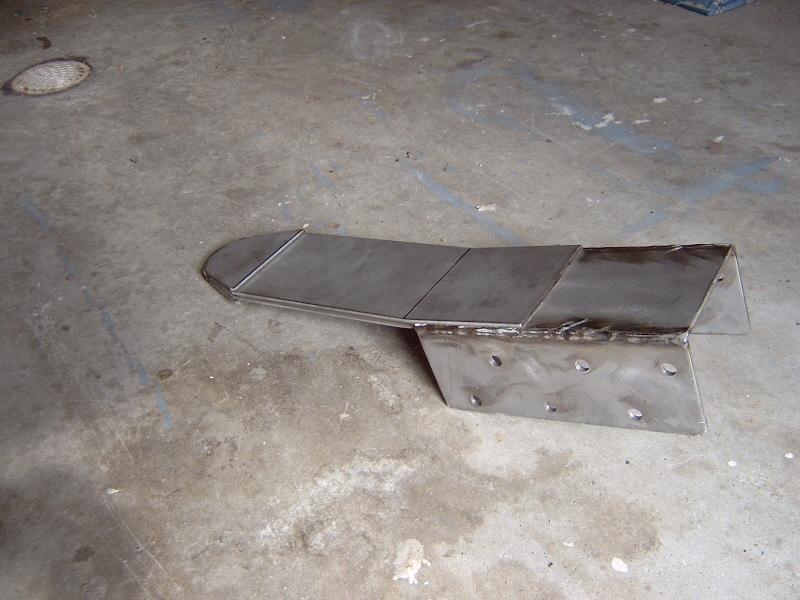
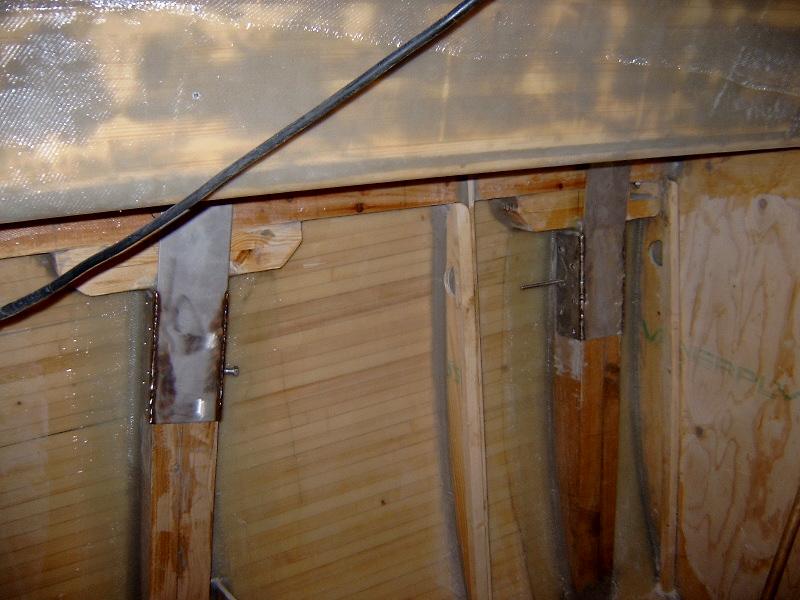
Next step was to start with the stainless steel work. I bought some sheet metal 5 mm thick, cut and welded three parts together to form each of the six chainplates. 6 holes were drilled on each side and then they looked like above left. As you can see from the picture the metal will slide onto the oak timber and six 12 millimeter bolts through the timber will keep the metal in position. The breaking load is 17 tons ! Normal working load is of course much less. The top end of the chainplates where the rig screws connect need to be much thicker than 5 millimeter so I added one extra plate from the top down to the middle of the part where the holes were drilled and on top of this an additional plate on each side of the top to make it totally 20 millimeters thick. To the right above is what it looked like at that stage.
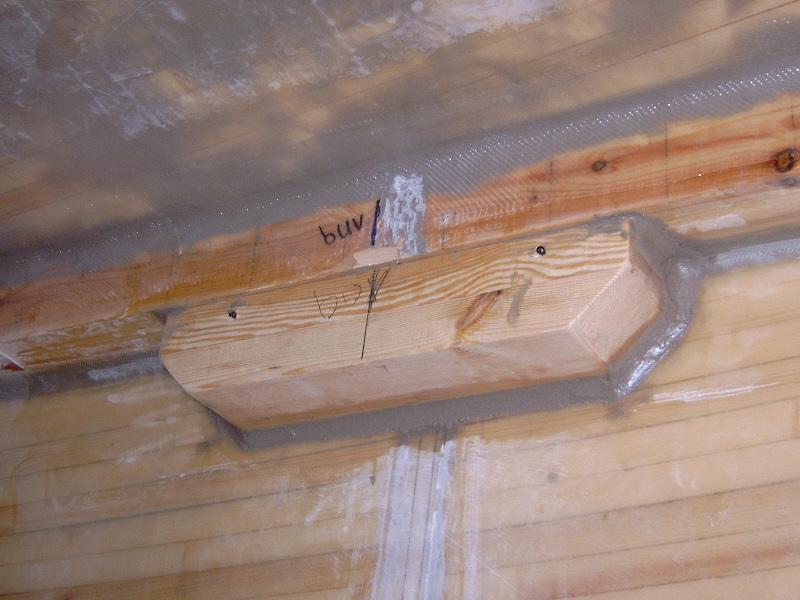
To distribute the load from the oak timber acting on the sheer clamp a doubler was glued into position at each of the 6 places. After that the oak members were glued, filleted and taped to the hull. Six rectangular holes were cut in the deck and finally the chainplates were mounted in their right position. There is still some metal work left with the chainplates but the main part is done.
While cutting the oak, I also cut some wood from juniper. It's a very nice looking wood that smells very good. I plan to use it to cover the table in the deckhouse later. Anyway, this is what it looks like right now.
Another metal work is the pulpit which I have now also finished. It looks nice but maybe I will have to change it a little to allow for the anchor to move as I want.
Next job was to make a toerail. It's made from oak, glued and screwed into the deck. Next step will be to paint the oak with clear epoxi 2 or layers. The brown color of the oak will look nice withe the white deck later.
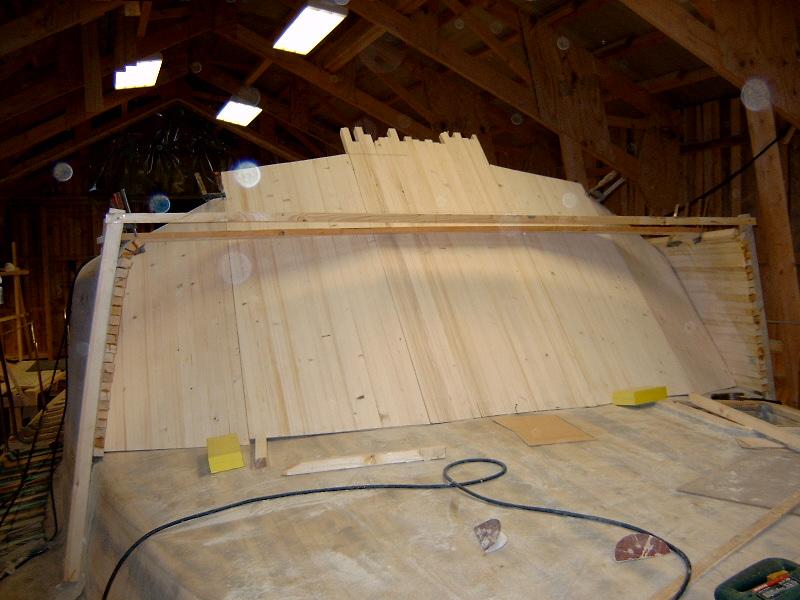
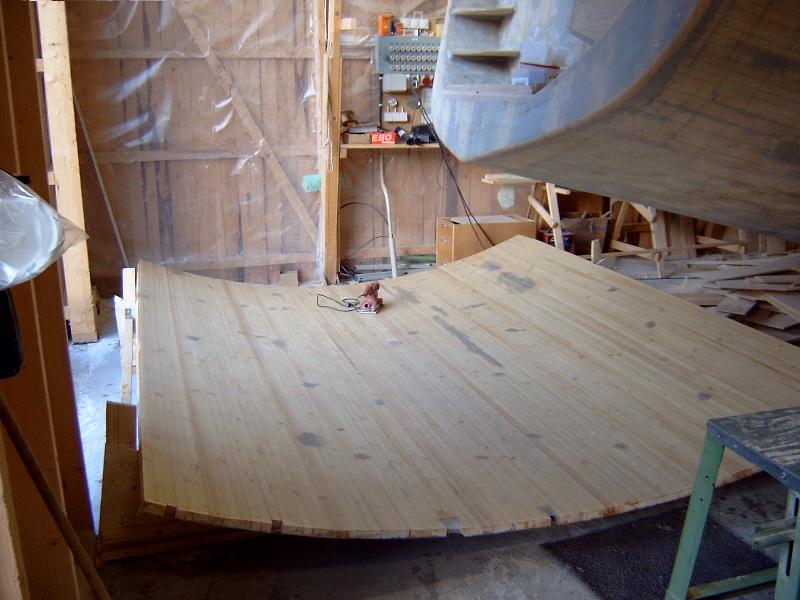
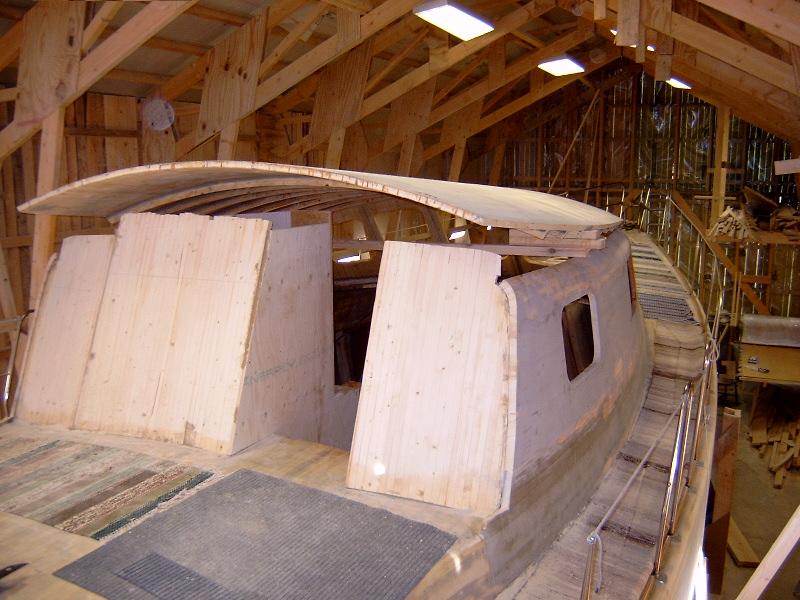
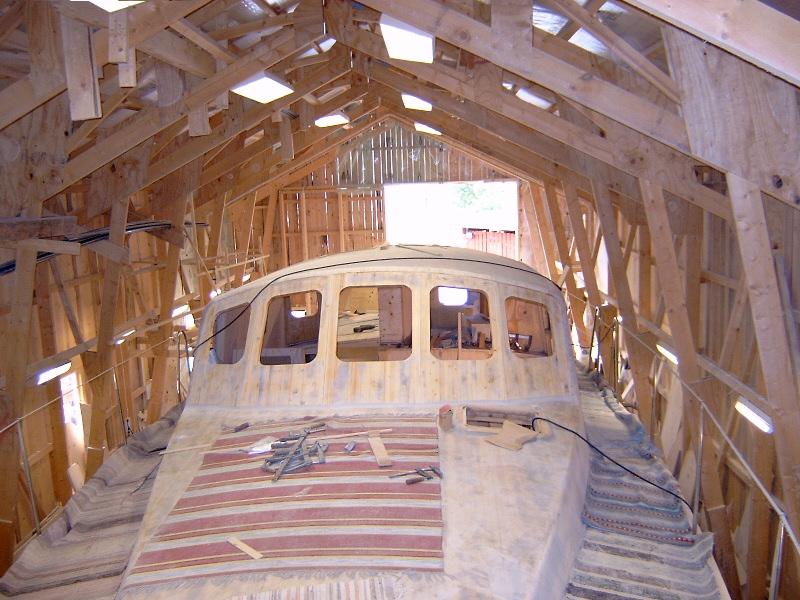
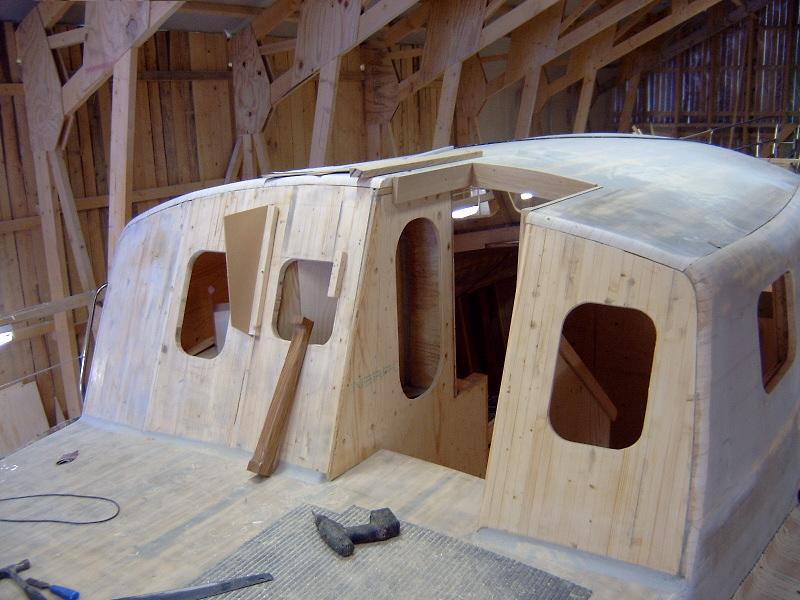
The big job this summer was the deckhouse. I started with the sidewalls. I made them from strips just like the rest of the boat. The front wall required a lot of thinking and talking before I finally decided to go for a 5-window solution. This is more expensive and more laboursome than 4 or 3 or even 2 windows but so much nicer looking in my opinion.
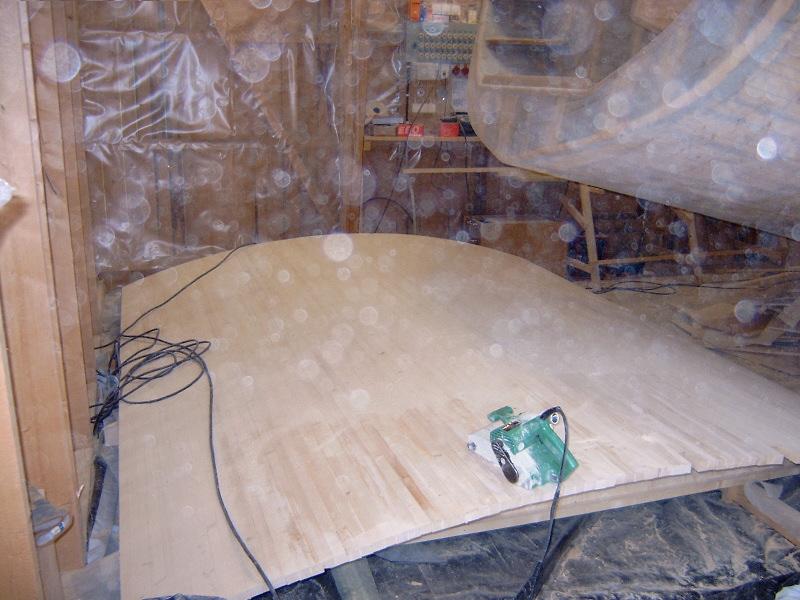
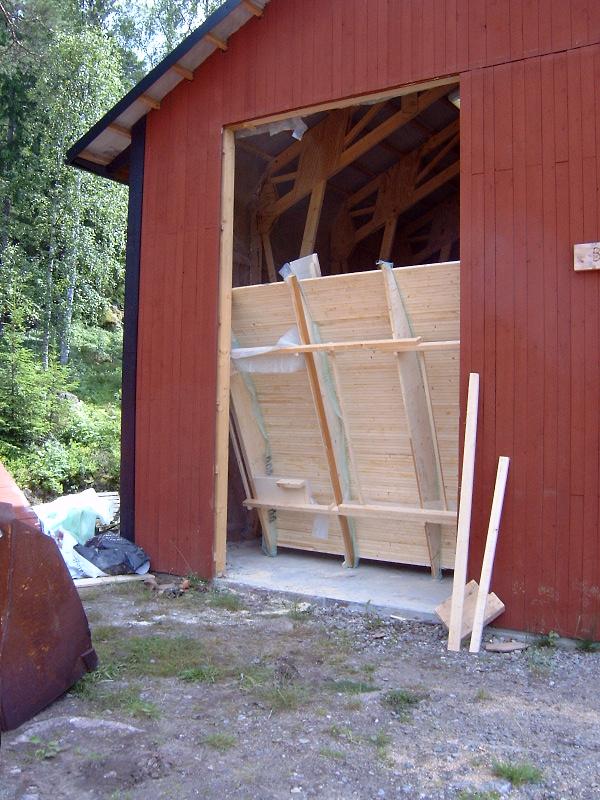
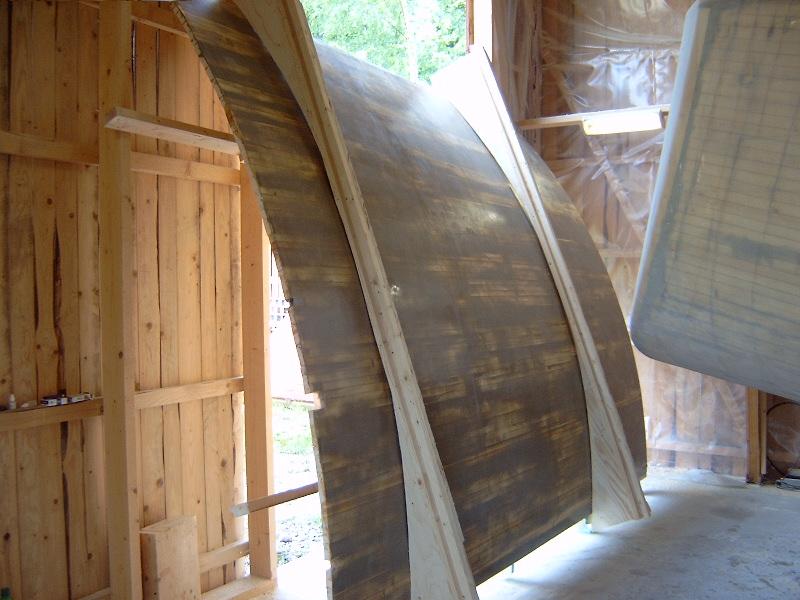
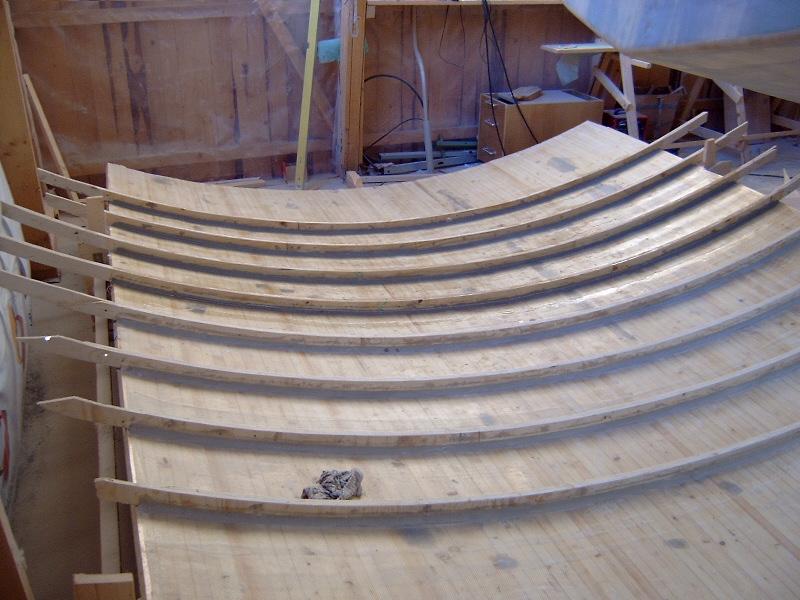
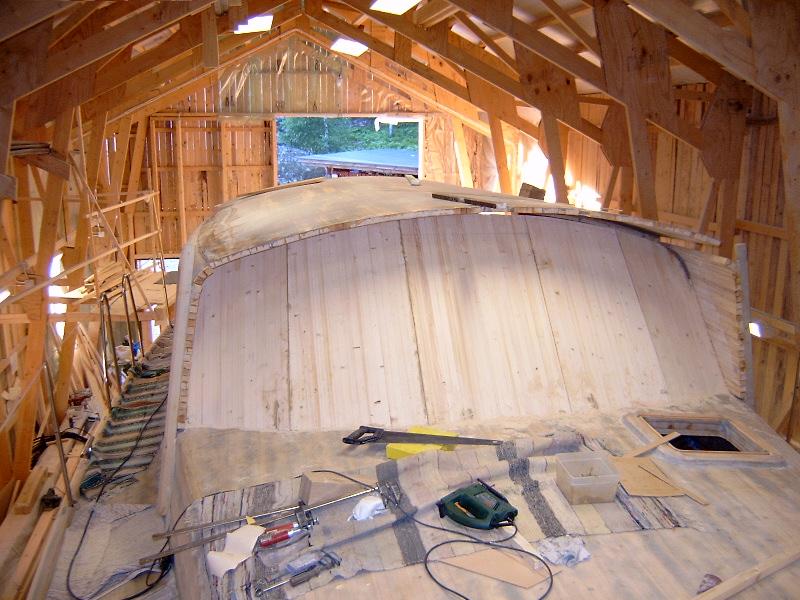
Then it was time for the roof. The shape is cylindric with 12 meter diameter. A few circular frames and then strips as usual. The bad quality of this picture is due to dust in the air after sanding with the belt sander. The flash of the digital camera creates this effect I suppose. I glassed the outside and then it was time ro turn the roof. There was not much space for this operation. To the right above is a picture from inside the boathouse.
Next step was to finish the inside of the roof. To make it strong enough I added frames 24X30 millimeter every 300 millimeter.
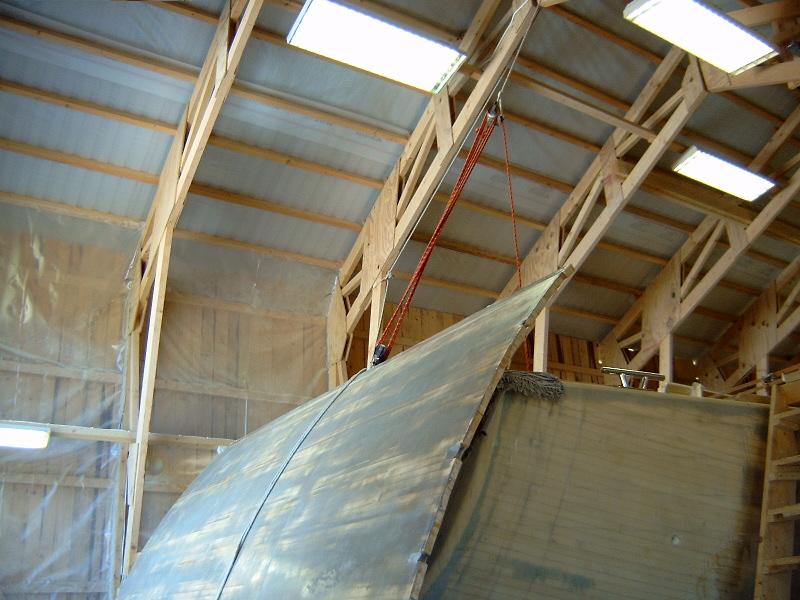
With both sides ready it was now time to lift the roof up onto the boat, cut the edges to the right shape and place it on the walls in its final position.
August
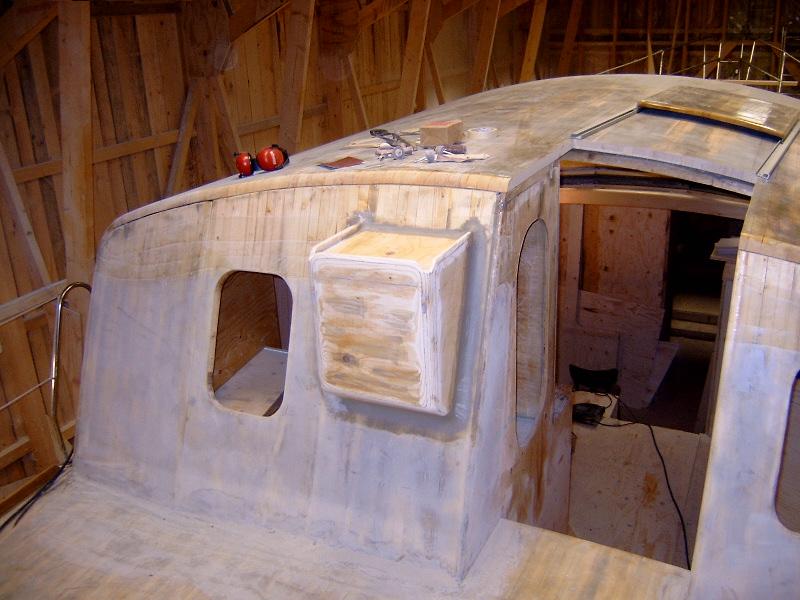
With the roof in the right position I continued with the rear wall. After that I cut out holes for the windows. 5 windows in the front wall, 2 windows in each side wall and 2 windows in the rear wall.
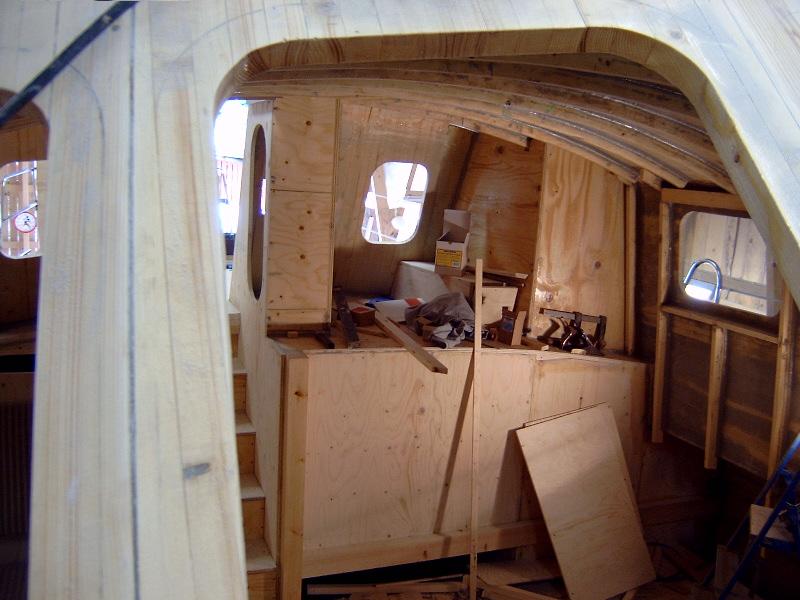
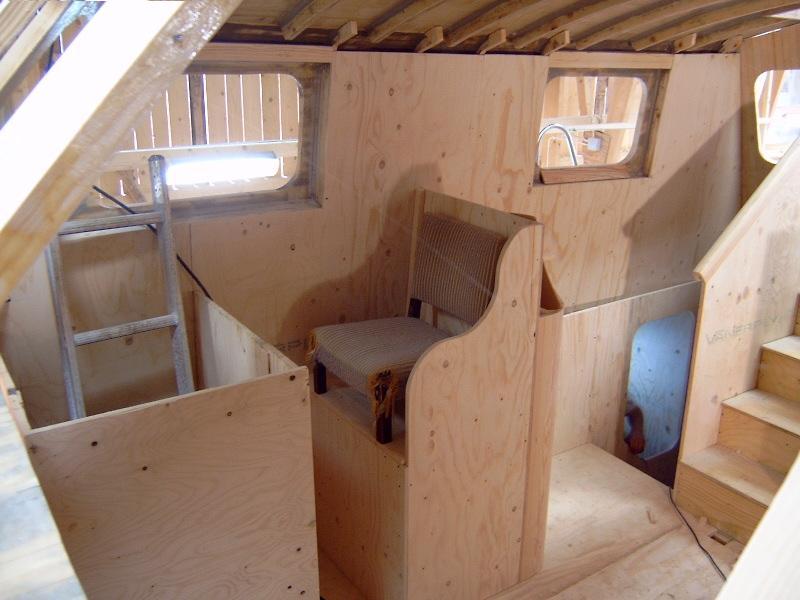
The third hole is covered by the steering console. I also finished some of the inside of the deckhouse. This picture shows the rear part on the port side and this picture shows the starboard side.
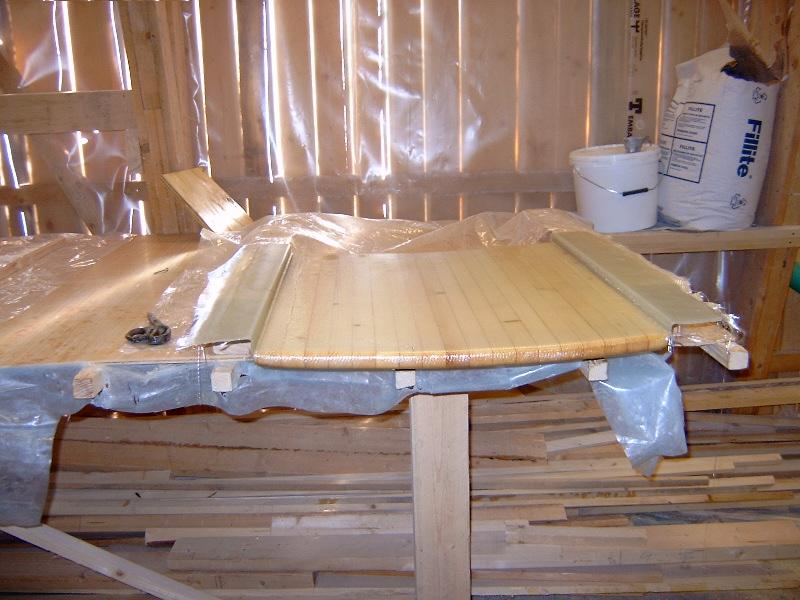
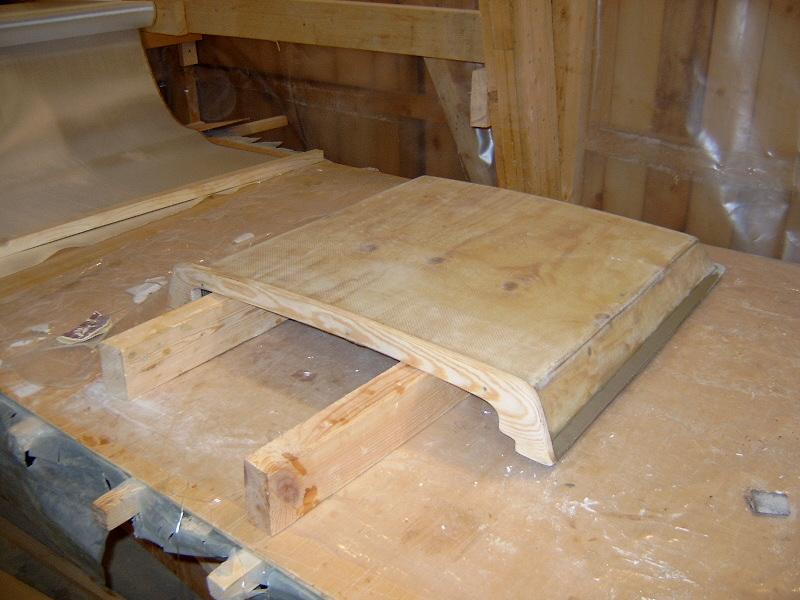
I used the cutout from the roof to make the hatch over the entrance. To reduce weight and make the hatch easier to handle I planed and sanded it to half it's original thickness. Then I added some glass that gave it "feet" to slide in the aluminum profile. You see the hatch and the profiles on the picture above. To cover the hatch when opened I made a large garage.
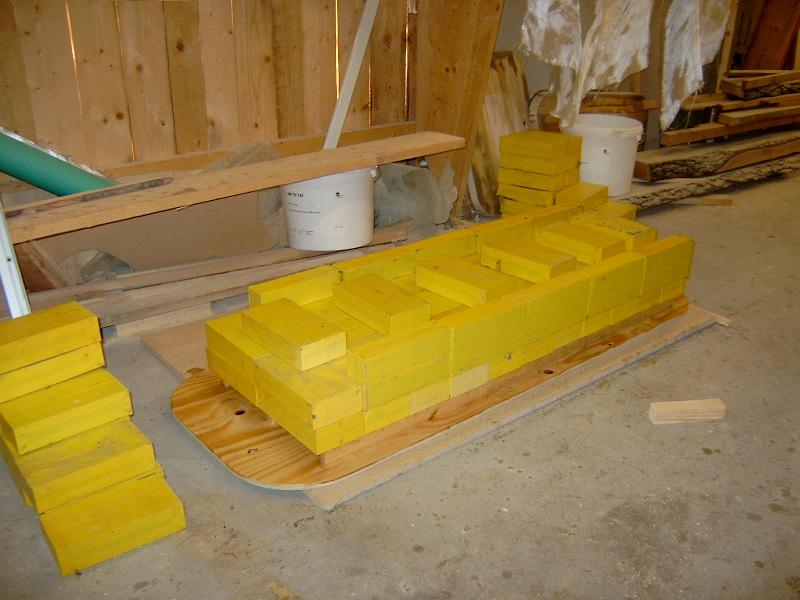
Making hatches and doors for cabins and lockers requires that you have the possibility to put the plywood in press while gluing. A flat concrete floor, a large piece of thick plywood and one ton of lead will do the job if you don't have anything better.
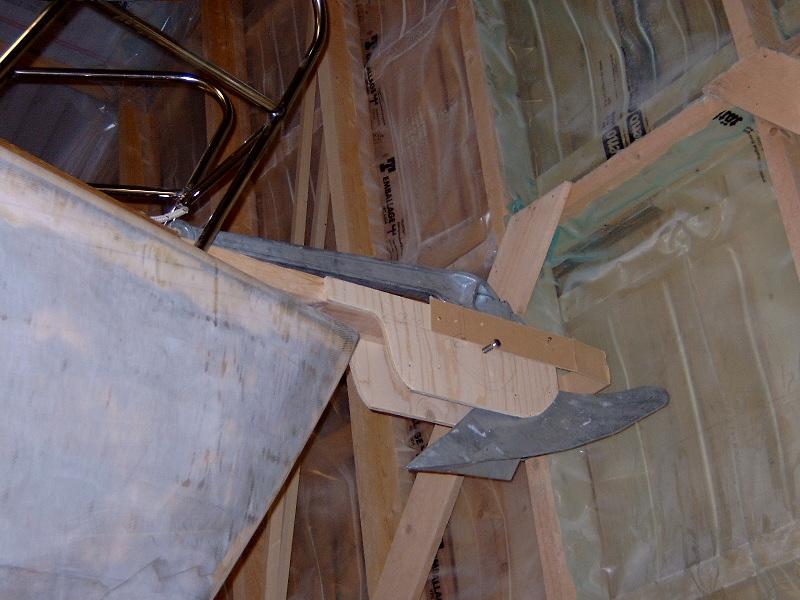
I also spent some time this month to experiment with the anchor. I made a quick wooden construction with a wheel and bought a cheap 27 kilo CQR-type anchor to check what space is needed to make the anchor move up and down without problems. Next step will be to make a similar construction from stainless steel and bolt it to the hull.
By the way, do you know what happens if you merge a boat with a bottle ? Look above !
September - December
Before the interior of the boat can be finished the keeltrunk must be constructed. I have pushed this job in front of me for more than a year now mainly because of the costs involved. Some of the job is done. I have a parametric CAD-model that can be used to simulate the movement of the ballast keel up and down in the keeltrunk and I have a FEM-model that can be used to simulate stresses and deformation due to load. What I still haven't decided finally is what material to use. The designer Tom MacNaughton wants me to use silicon bronze. This makes sense since bronze is very corrosion resistant and based on copper which is toxic and thus prevents growth of weeds etc. Bronze is also non magnetic. On the other hand, bronze has a lower modulus of elasticity and also lower strength than steel. Stainless steel is even better. The main problem with bronze however is that it is practically inpossible to find in the sizes needed, at least in Sweden. I have spent a lot of time to find 12 millimeter sheet metal silicon bronze but it seems I would have to import it from the USA if I would decide to go for a keeltrunk in bronze !
More natural therefore is to use steel or stainless steel. A keeltrunk in steel would be the cheapest possible solution but I don't think I can handle the problems related to corrosion. Since the keeltrunk will not be possible to remove from the boat once it is in place it needs to be in a material that will last as long as the rest of the boat, ie. 30 - 50 years or more. Stainless steel is the ultimate solution of course but very expensive. On the other hand Sweden is a world leading country in steel manufacturing so it is easy to find places where you can by it and easy to find people with good knowledge in using it. There are people at the university where I work who are metal specialists and one of the worlds largest stainless steel producing companies (Avesta/Polarit) has it's main office close to where I live. According to specialists at Avesta normal stainless steel type 2343 is not enough for tempered salt water. (2343 is equal to 316L or EN 1.4432). To get full protection against corrosion, specially pitting and crevice corrosion a duplex steel (ferritic-austenitic) is recommended. Such steels are for example Avseta Polarit 2205 (EN 1.4462) or SAF 2507 (EN 1.4410). Characteristic properties for these steel grades are:
High strength
High resistance to pitting and crevice corrosion
High resistance to stress corrosion cracking and corrosion fatigue
High reistance to uniform corrosion
Good erosion resistance
Good fatigue resistance
High energy absorption
Low thermal expansion
Good weldability
and typical applicationa are:
Heat exchangers
Water heaters
Presure vessels
Tanks
Rotors, impellers and shafts
Firewalls and blast walls on offshore platforms
Digesters and other equipment in the pulp and paper industry
Cargo tanks and pipe systems in chemical tankers
Desalination plants
Flue-gas cleaning
Seawater systems
While searching the internet for information on this issue I also found a sailboat designed by Långedrag Marin built in Avesta Polarit 2205. It seems that stainlees steel is becoming more and more popular for boatbuilding.
Anyway, I hope to have sorted all these questions out within short so that I can go on and order the material and start welding. The plan is to finish the box before the summer so that next building season can start with mounting the keelbox and then finish the interior of the boat. Until then I work in my woods cutting timber to sell. Stainless is expensive !
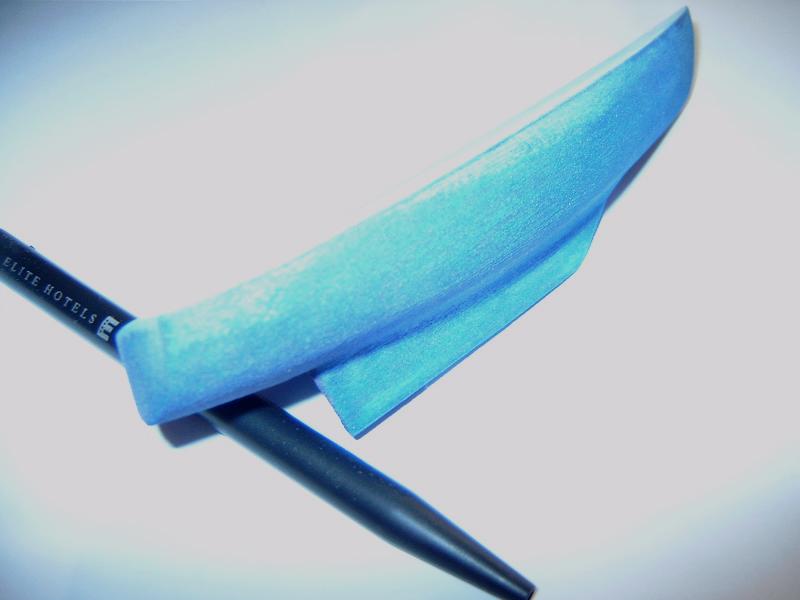
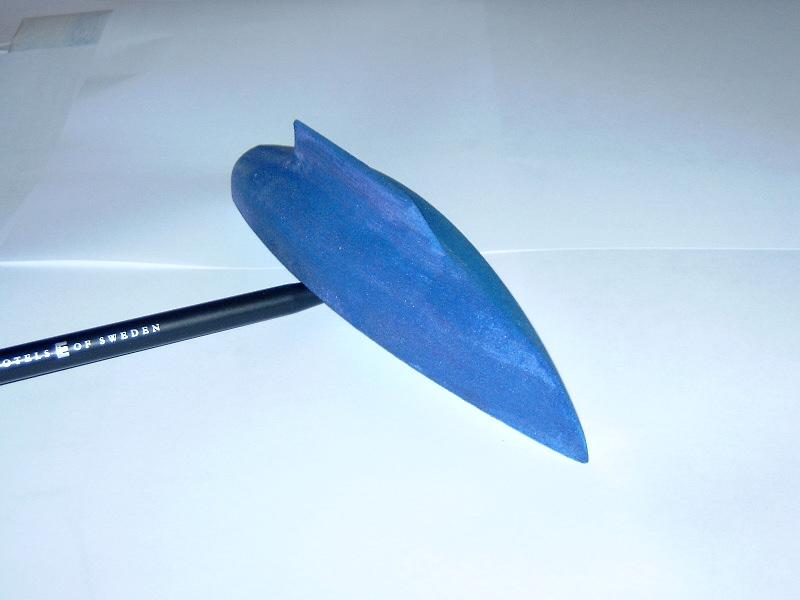
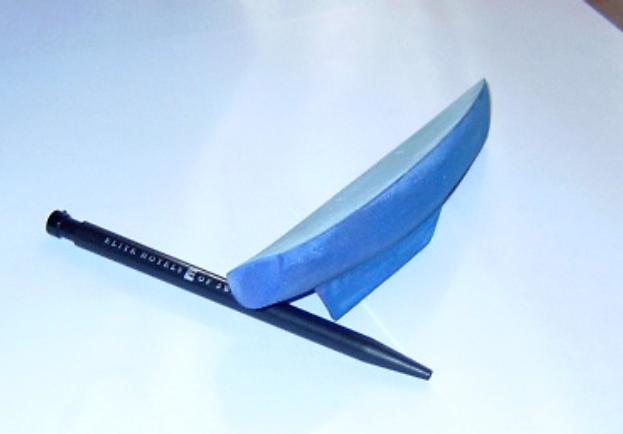
Some time ago I sent a CAD-file of the hull of the boat to a friend working at Karlstad University. They have a rapid prototyping machine that can fabricate a 3-dimensional object directly from a CAD model, something like a 3D printer. I just got the boat model and here are some pictures of what it looks like:
The machine works by spraying (coloured-) water over many layers of plasterwowder.

